


At some point while the neck was sitting in the clamps to dry, my attention turned to the fretboard. Technically because a fretless instrument doesn't have frets it can't be called a "fretboard" but rather a "fingerboard." I'm too old and entrenched in my ways, so forgive me if I keep calling it a fretboard out of habit.
The board for a fretless instrument is a pretty simple build, as you don't have to worry about cutting fret slots, and all the resulting fretwork. So this went pretty quick.
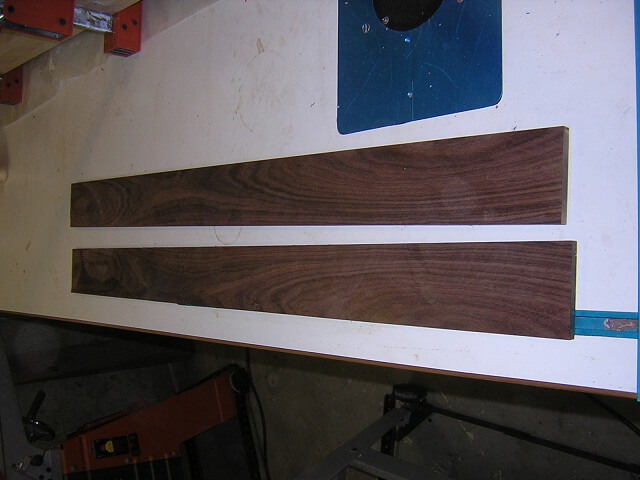
To begin I selected a piece of rosewood I had in my stack of wood. This piece was much thicker than what I needed for a fretboard. In fact, I am planning to get several fretboards out of this piece.
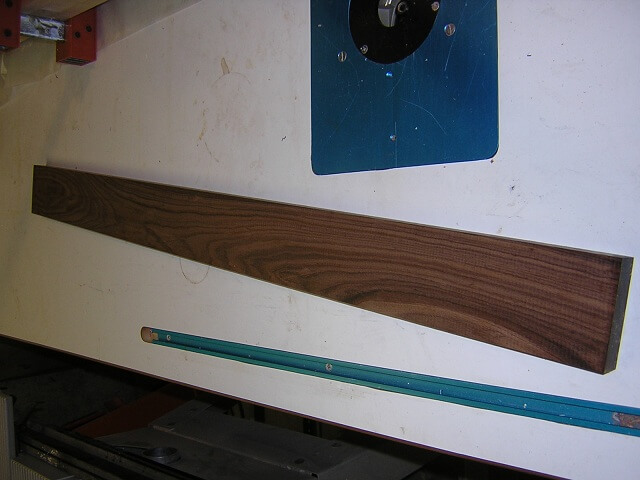
Using the band saw, I trimmed off a 1/4" piece that will become the fretboard for this bass.
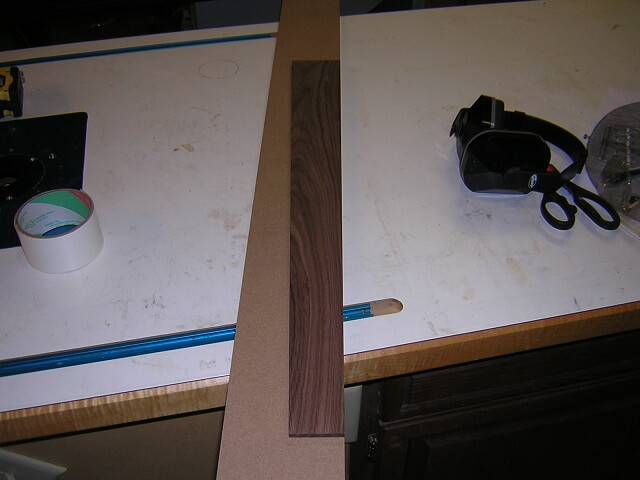
To ensure I had the neck blank tapered to the proper width, I decided to taper the fretboard to its final width first. I could then use my fretboard as the "gold standard" and cut the neck blank to match. Often times I'll cut the neck to final width, cut the fretboard slightly oversized, glue it on and flush trim it to match. But this time I'm attempting to cut both to exact size, then glue them together without slipping out of alignment.
I also tried a different method for tapering the fretboard from my usual band saw/router combination that you can see from my other builds. This time around I used double-sided tape to fasten the fretboard to a piece of MDF so the cut line lies right on the edge of the MDF. I then set the fence on the table saw to the exact width of the MDF, and ran the whole thing through the table saw. I then reversed the fretboard on the MDF and did the same to cut the other side. It worked pretty well.
I now took some time sanding the proper radius into the face of the fretboard. On this instrument I sanded a compound radius, starting from 10" at the nut end down to 20" at the body end. Sanding a fretboard radius is a slow, finger tiring exercise. One of these days I'm going to build a jig to make it a lot easer by using a router.

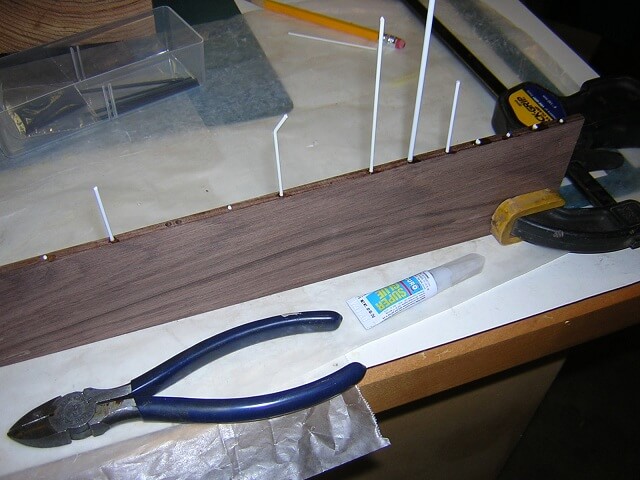
I then drilled the holes on the side of the fretboard for the dot inlays. The face of the fretboard will not have any inlays, but the sides will have dots.
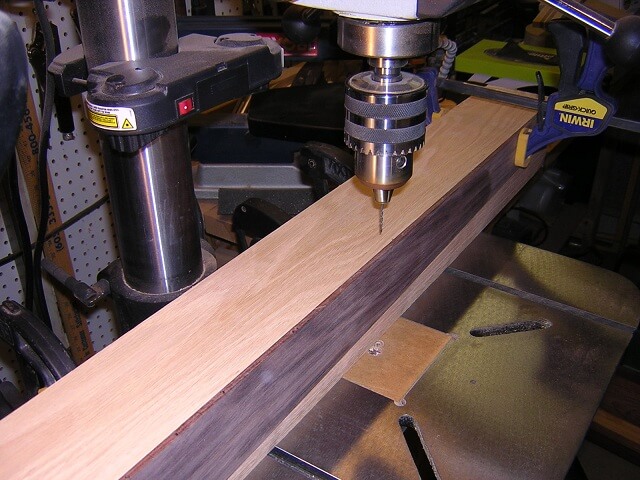
The dot inlays are actually plastic rods that are glued in place with super glue. Once dry they get cut off and sanded flush which makes it look like a "dot."
And that was pretty much it for the fretboard. See, I told you there's not much to it! Now lets go over how I built the body and put the whole instrument together.
Return To The Main Music Gallery
This page last updated on 06/28/2018