


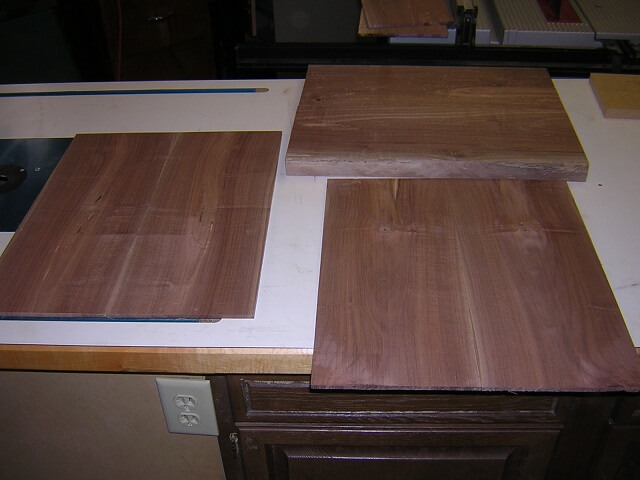
This guitar started life with a completely different direction in mind. Originally I had intended to build this guitar with an opaque black finish with white binding. Thinking I was going to cover the wood with a layer of paint, I selected some stock that had a few visual imperfections such as small knots, insect holes and sap pockets. These blemishes weren't structural so it wasn't a problem for me to use the wood. They just didn't look as pretty.
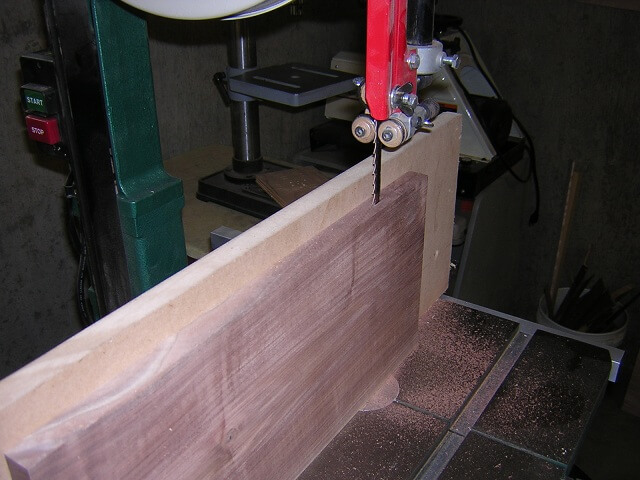
First, I wanted the top and bottom of the instrument to be 1/4" thick. The body obviously would be hollow. I started by resawing some thicker stock down to the thinner pieces I wanted.
The total instrument thickness would be 1.75". With the front and back each being 1/4" thick, I needed a center layer that would be 1.25" thick. I planed down some wood to the proper thickness. I then glued the front and back pieces together so I had large enough blanks for the outer layers. The center layer wasn't glued together quite yet.
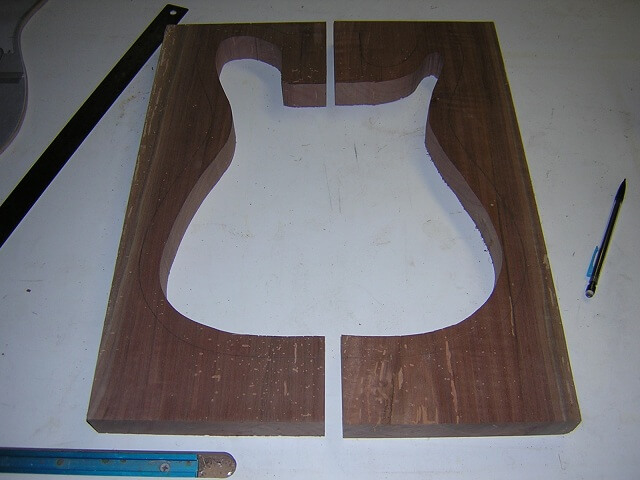
Before I glued the center layer together it was a lot easier to use the bandsaw and remove the "hollow" portion of the instrument. Had I glued the blank together first, I would have had to cut into my blank from an edge, or drilled a hole and done an inside cut with a scroll saw. This method was a lot quicker.
I glued the center pieces together and glued them to the back layer at the same time. I used a wet rag and cleaned up all of the glue squeeze-out around the inside of the cutout.
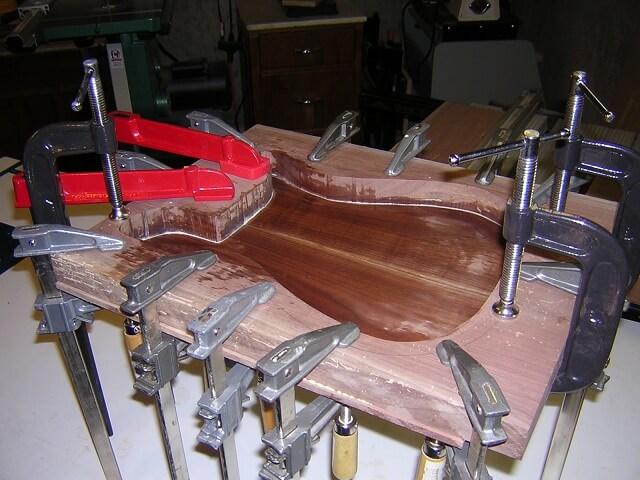
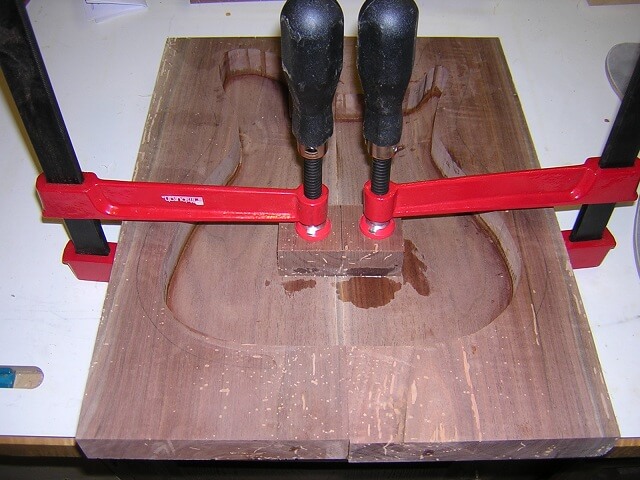
Rather than having a completely floating top, I opted to have a solid piece of wood underneath where the bridge would mount. I glued this piece in place using my long-throat clamps.
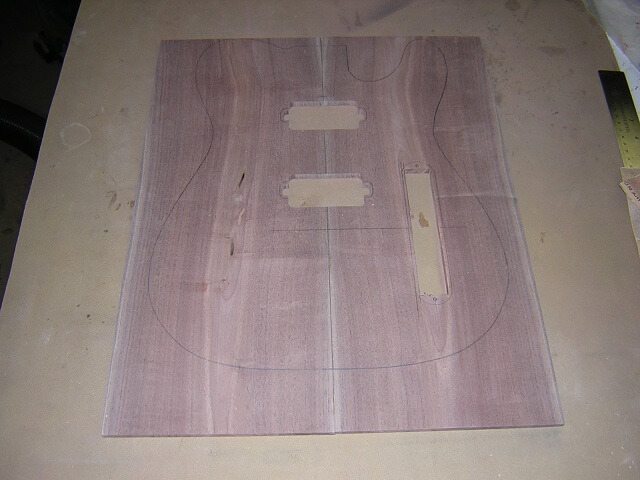
The holes for the pickups and the control plate were a lot easier to cut prior to gluing the top in place. I cut these out on the scroll saw.
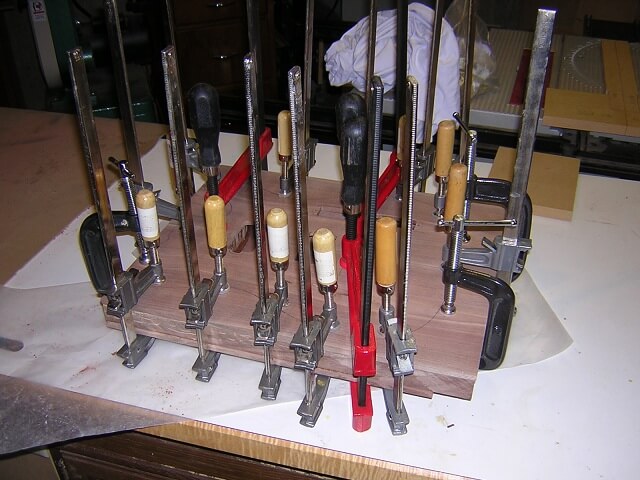
Now it was time to glue the top to the back piece.
After the glue had dried, I cut out the rough shape of the body on the band saw.
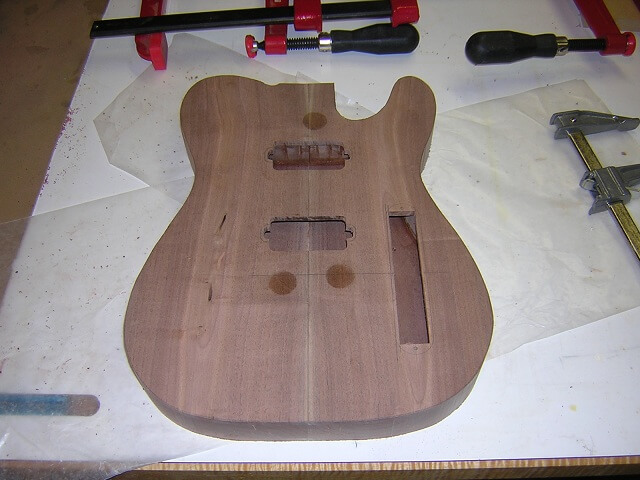
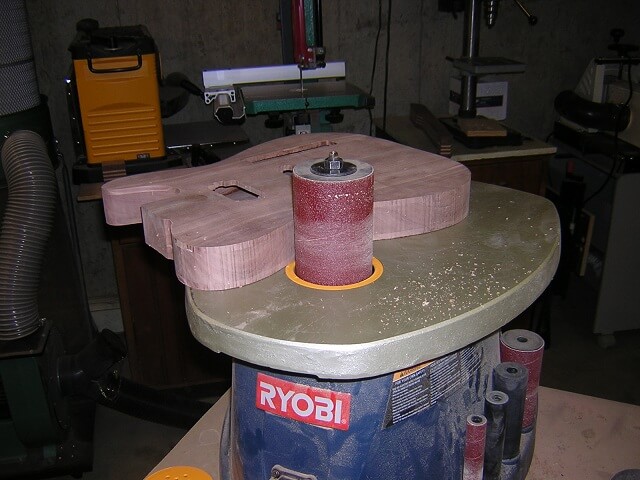
The band saw cuts were about 1/16" to 1/8" outside the line I had drawn on the body. I then used the drum sander to sand the body right up to the line. This had the additional benefit of removing the rough band saw marks and leaving a nice, smooth side to the body.
At this point my pictures end. I can't remember if I failed to take any further pictures, or just have misplaced them in the six years from when I first started this guitar until I finally got around to finishing it.
The next thing I did was to route the pocket for the neck. This was done using my standard bolt-on neck pocket jig that I created specifically for this guitar, but have since used on several additional instruments.
With the neck pocket done, I routed a channel on the front and back for the binding. The binding was originally a five layer w/b/w/b/w sandwich (white on the outside.) I then used black dye to stain the walnut, then scraped the stain off of the binding in the same way I did for Phil Zach's bass. The result was a very tuxedo-esque look.
With the stain in place, I proceeded to shoot the lacquer finish coats. As I sprayed my first coat I quickly became aware of an issue. Rather than a nice, even, smooth, shiny coat of lacquer, I wound up with a very rough finish that had chunks in it. Something was very, very wrong.
At this point I grew frustrated with this guitar and shelved it for a few years. Then after I spent some time away my interest was renewed and I started working on it again.
I had to sand down this terrible layer of finish, which also removed most of my black dye. Upon re-staining, I couldn't get the dye to apply itself evenly to the finish. I messed with this stain off and on for over a year whenever I would get motivated. No matter what I did I couldn't get the dye to look anything but streaky.
I decided that the older layers of dye must be monkeying with the newer layers, and the only soltion would be to sand the entire guitar down to wood and apply some sort of barrier coat like shellac before the dye.
After I sanded down the guitar to bare wood, I noteiced my binding was starting to delaminate. There were spots where the layers weren't adhering to each other. I worked for a period of time trying to re-glue the loose bindings. As they were re-fastened, they started looking worse and worse to my eye. Finally in an attempt to sand one particularly finicky section flush, I sanded through the outer layer of white binding revealing the next layer of black. I now knew that there wasn't a satisfactory way to fix this issue short of replacing the binding.
Once againI shelved the guitar for several more years while I worked on some other projects that were less frustrating. At this point the neck had already been completed. Eventually I got sick of constantly moving the body out of the way in the shop and decided it was time to finish this guitar.
I proceeded to remove the binding, which was fairly easy around most of the instrument as the same glue issue that was causing the delamination also caused the binding to pop out of the channel without much trouble. There were a couple spots where inner-most layer of the binding wasn't releasing, so I just cut it off. Then, I re-routed the binding channel to remove any glue or bits of binding that were left behind.
So I was now back to the point where I needed to install binding. As I stared at the walnut, I decided that I kind of liked the way it looked with all the defects. At this point I made the decision to forego the black opaque finish and just shoot clear lacquer over the walnut.
With a clear finish, I also decided that the original binding color scheme wouldn't look as good, so I reversed it and bought binding strips that would be oriented b/w/b/w/b. I also bought a fresh tube of binding cement as the glue I used last time obviously didn't work.
The binding was glued in place, then scraped and sanded level with the wood. I love the look of bound guitars, but I sure don't like the binding process. Very tedious and if a spot doesn't turn out right it's hard to fix without re-doing the whole binding. Also for some crazy reason those strips of plastic that make up the binding are surprisingly expensive. The binding strips on this guitar cost about $50 and I didn't even bind the neck or headstock (well, actually they cost me $100 because I had to do them twice.) $50 just seems awful steep for what amounts to 10 4' long strips of plastic.
Once the binding was done and I was satisfied it wasn't going to separate from the body again, I re-started the finishing process. The first thing I did was fill all the bug holes, knots, etc with black epoxy (to match the binding, I guess.) I had filled them before but a lot of the filler came out in the refinishing process.
I then used walnut colored grain filler and filled the pores of the wood. Once cured, I sprayed eight coats of nitrocellulose lacquer, let it sit for a few weeks to shrink, then level-sanded and buffed the body until it was a mirror.
After that was the usual assembly of all the parts, wiring and setting it up. At long last I was done with this project!
Continue on to view the construction of the neck.
Or return to see the pictures of the completed guitar.
Return To The Main Music Gallery
This page last updated on 06/28/2018