


This was my first project with my new Ryobi BT3100 table saw. I received inspiration for the design from an issue of Popular Woodworking that I picked up when I was visiting my in-laws over the holidays. While I didn't follow the design from the magazine to a tee, it is very similar.
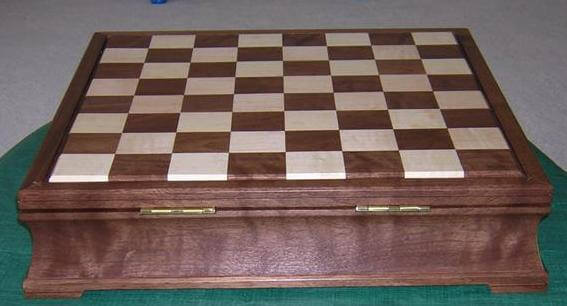
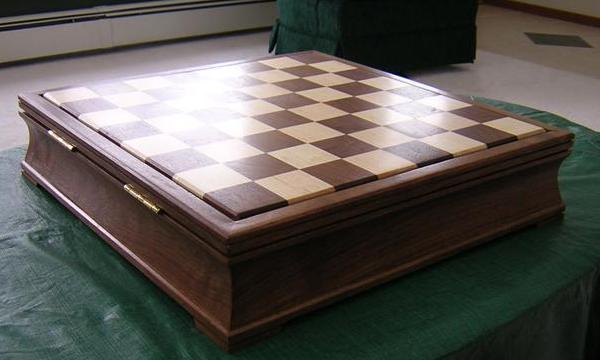
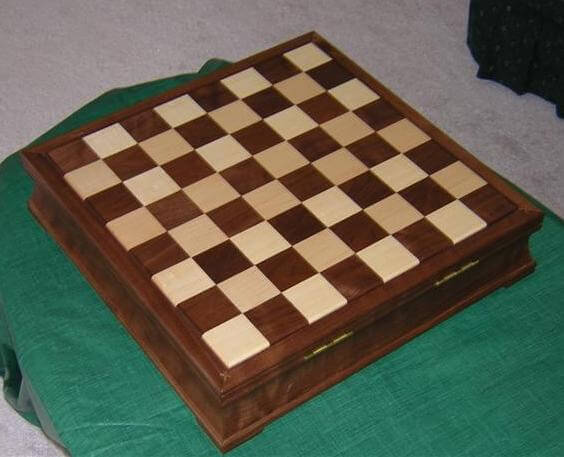
The board is made primarily out of walnut, with maple for the light squares on the playing field and a piece of (reclaimed) birch plywood for the case bottom. Outside of the learning curve that comes with a new saw, I got to try my hand at two new techniques that I hadn't used before: cove cutting on the table saw and making splined miter joints.
My original idea was to document the construction process in pictures. Unfortunately, my digital camera had broken and I didn't get a replacement until after the project was finished, so you'll have to settle for a description only. Or, you can skip all this reading and just look at the pictures. Or, you can e-mail me to go jump in a lake. Your choice.
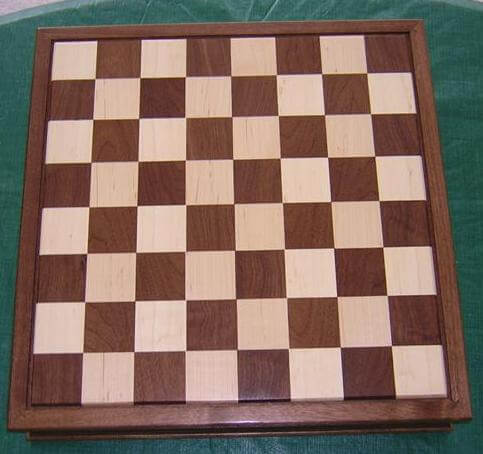
I started by building the playing field. I ripped 4 strips of maple and 4 strips of walnut (approximately 17" long each) to 1 3/4" wide. I also cut a piece of scrap pine to this width, so I could use it as a gauge to reset my fence to the exact same position later on. I then edge glued the strips together, alternating maple and walnut. I let this assembly cook in the clamps while I moved on to work on the case.
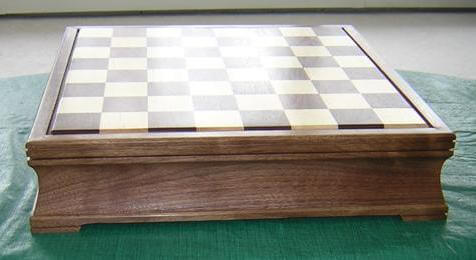
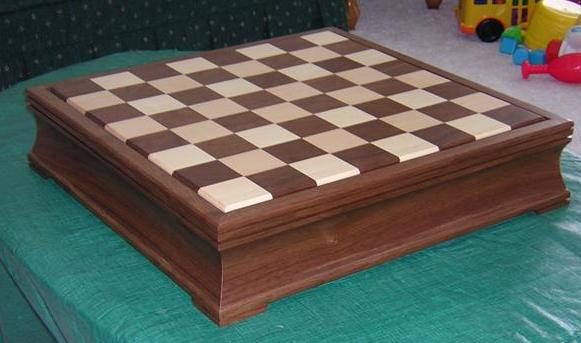
I started the case by ripping two 3' walnut boards to 3 3/8" width. I then cut a cove the length of each the boards by clamping a straight edge (in my case a 4' aluminum level) across the table saw at an angle, behind the blade. I then lowered the blade all the way down, and beveled the blade to 45 degrees, to induce a slight parabolic profile to the cove. I then raised the blade about 1/32 at a time and ran each board across the saw at an angle.
Once the cove was approximately 3/8" deep I stopped. By the way, before I cut the walnut, I ran some test cuts on scrap to get the position of the straight edge just right. Also, I noticed that I had to make sure I kept a fair amount of downward pressure on the board to make sure the cut depth was consistent across the whole length.
I then installed a dado blade and cut a 1/4" groove for the spline that would hold the playing field, and a 1/2" groove to hold the plywood bottom. I put the stock blade back in the saw and made two decorative grooves at the top of what would become the outside face of the chessboard case (cove side, which was the opposite side of the grooves I had just cut.)
Once the cove cuts were done, the concave surface of the cover was pretty rough. I didn't have any sort of power tool that would sand a curved surface like this, so I had to resort to hand sanding. I became very intimate with the sandpaper and with a lot of elbow grease smoothed everything out. Thankfully, walnut is a great wood to work with, so it didn't take as long as I had originally feared.
By this time (hey, I'm slow) the strips I had glued together for the playing field had dried. I removed them from the clamps, and faced the first hurdle of the project; rather than a nice, flat piece of wood strips glued together, the clamp had pulled them into a wide curve. Oops. I guess I'll have to try to fix that little problem on the next glue-up.
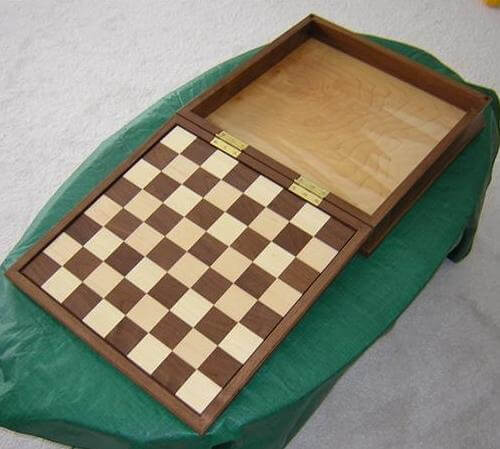
I reset the fence back to 1 3/4" (using the scrap gauge I had made above) and ran the edge-glued piece back through the saw oriented 90 degrees from how the strips were glued together. This left me with 8 strips, each with alternating 1 3/4" squares of walnut and maple. I then laid these strips out on the table in the order I had cut them, and flipped every-other strip end for end to produce a checkerboard (or in this case, a chessboard) pattern.
Then, to try and counteract the bow the previous glue up had put in the boards, I flipped every-other piece upside down so that the boards were bowed in opposite directions. (At this point, I really wish I had gotten pictures, because it's easier to see what I did than read about it.) Once everything was in place, I glued these strips together taking care to flatten them out as I clamped them up. More time to cook in the clamps.
While I was waiting, I cut 4 3/4" x 1/4" strips to be used as splines to hold the playing field in place. I also cut 4 1/2" x 1/8" strips to be used to spline the miter joints of the case. When cutting these smaller splines, I made sure that the grain ran cross-wise so they would have maximum strength when holding the case miters together.

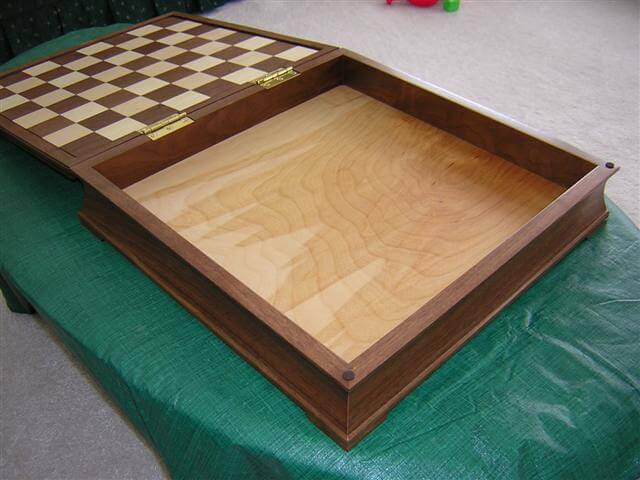
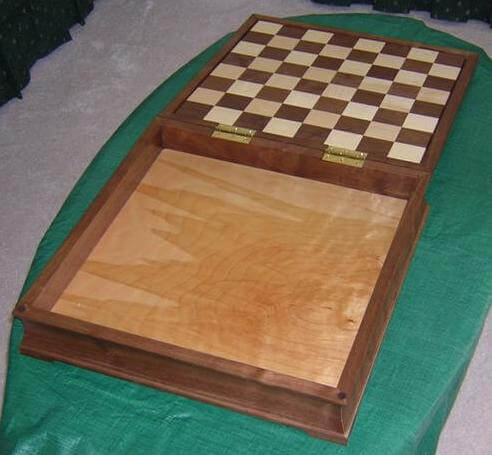
I had a large piece of birch plywood I had taken from an old cabinet we had at church. I thought it had a pretty veneer face on one side, so I thought I would cut it down and use it for the bottom of the case. The plywood was 1/2" with MDF core, which was a little heavier than what I really needed, but I didn't want to see the wood end up in the dumpster so I used it. Thankfully, it was unfinished and after a little sanding it cleaned up nice. As a benefit, the extra weight helps keep the bottom of the case planted when you open the lid.
After the glue had cured on the playing field, I removed the clamps and much to my relief, the board was relatively flat. Apparently the trick to alternate the bow in the boards did the trick. Yes! Now it was back to more sanding to smooth the playing field (both sides) and remove the glue squeeze out. Using the router table, I then cut a 1/4" by 1/4" groove around the edge of the playing field to accept the splines.
I then chucked up a chamfer bit in the router table and cut an 1/8" chamfer in the top edge of the playing field and along the outside top edge of the case pieces.
At this point, I made miter cuts to the sides to make four equal sized pieces. I then tilted the table saw blade to 45 degrees and moved the SMT over to the right side and cut slots in the miters for the splines. After a bunch of dry fitting and sanding, I glued the whole thing up.
Once the glue had dried on the assembly, I cut the lid off on the table saw. I set the fence so the kerf would be just below the lower decorative cut. I would saw each side, then slip in scrapwood shims into the kerf and tape them in place so the lid wouldn't collapse on the blade as I cut the subsequent sides. After the lid was separated from the lower case, I spent more time sanding to make everything pretty and remove any saw marks from where I cut the piece apart.
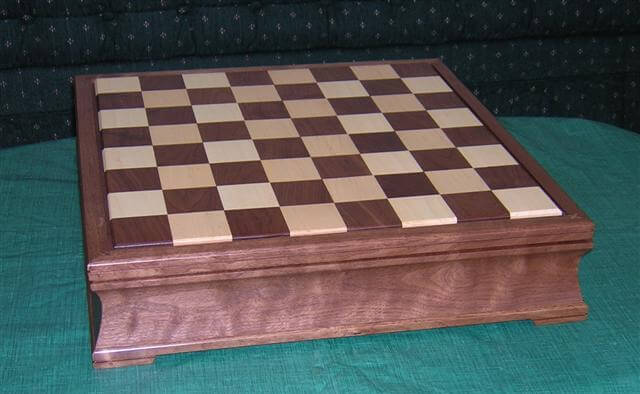
Now my focus turned to the base. I started with an oversized blank, and marked where I would cut out the four pieces for the base. I ran a decorative groove (at the same depth as the decorative cuts on the case sides.) I then used a 1/2" forstner bit to cut the curve 2" in on each side of the base pieces, aligning the top of the bit with the top of the decorative groove.
Next, I ripped the base pieces to final width and mitered them to length. I put a 1/8" chamfer across the top of each piece. With my scroll saw, I cut down the upper side of each decorative groove, to remove the section with the curve. I used the scroll saw instead of the band saw, even though it was a little slower, to try and save myself from some sanding.
Once the base pieces were sanded, I glued them up using a picture framing clamp I have to ensure that the base was square. After the glue had dried, I then ran a bead of glue around the top of the base and set the bottom case down onto it. Once I had everything centered, I stacked every heavy thing within reach (including a box full of encyclopedias) onto the chessboard and left it there until the glue had dried.
The last construction thing to do was to mortise out the top and case bottom for the hinges. Rather than using a router and risk slipping and messing up a lot of work, I took my time with a chisel to make sure I got a good tight fit.
With some more final sanding, a blast of air to blow the dust away and then going over everything with a tack cloth, it was time for finishing. I mixed up a batch of Minwax satin poly, cut 50% with mineral spirits, and wiped on the finish. I put on a total of 5 coats, rubbing it down with 000 steel wool between each coat. I also made sure I ran over the whole project with a magnet (to pick up stray steel wool fibers) and used the tack cloth before the next final coat.
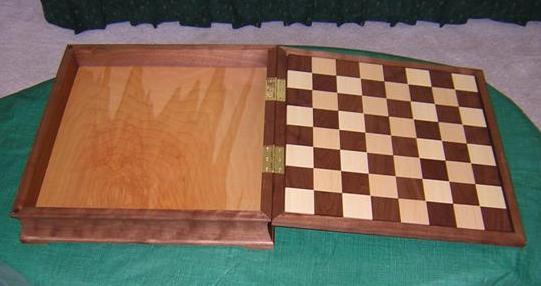
After the last coat of finish was dry, I installed the hinges and added a couple of felt pads to keep the top from banging when it's shut. At the time of this writing, it's yet to have it's inaugural game played on it. Unfortunately, it has spent most of it's time hidden in the basement, because my 13 month old son likes to bang his toys on it (and the furniture, which is why the coffee table in the pictures is covered with an old tablecloth.)
I've already started to make the matching chess pieces. I'll post those pictures when they're complete.
Return To The Main Wood Gallery
This page last updated on 06/28/2018